
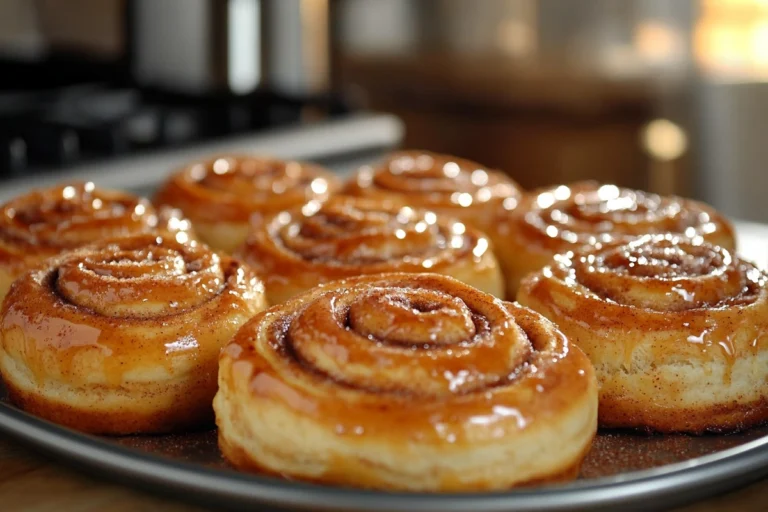
If there’s one thing that never fails to make my home feel warm and welcoming, it’s the scent of freshly baked cinnamon rolls wafting through the air. The combination of sweet, yeasty dough and that signature cinnamon-sugar swirl is simply irresistible. But let’s face it: the usual process of making cinnamon rolls can be a time-consuming labor of love—waiting for the dough to rise once (or even twice!) can mean you spend half your day hovering around the kitchen. That’s precisely why these one-hour cinnamon rolls are such a revelation. Yes, you read that correctly: you can enjoy pillowy, sweet, and perfectly spiced cinnamon rolls in just about 60 minutes!
This recipe is perfect for busy weekends or even an ambitious weekday morning when you want to treat yourself without sacrificing hours of your day. With a swift rising time, a simple dough, and an easy-to-make filling, these one-hour cinnamon rolls strike the perfect balance between convenience and indulgence. Whether you’re new to baking or simply craving a sweet treat in a hurry, you’ll love how easily these come together.
Ingredients You’ll Need for One-Hour Cinnamon Rolls
Before diving into the step-by-step process, it’s important to understand how each ingredient contributes to the flavor and texture of these one-hour cinnamon rolls. Here’s what you’ll need:
- Milk (1 cup): The foundation of a tender dough. Milk adds moisture and a subtle richness. Warming it to the right temperature helps activate the yeast, ensuring a quick and efficient rise.
- Butter (separated, 4 tablespoons for the dough + more for the filling): Butter enriches the dough and makes it buttery-soft. In the filling, melted or softened butter helps the brown sugar and cinnamon stick to the dough, creating those signature sweet swirls.
- Yeast (rapid-rise or instant, 2¼ teaspoons): The driving force behind the rapid rising action in this recipe. Rapid-rise yeast is specially formulated to cut down on rise times, making our one-hour goal possible.
- Sugar (¼ cup granulated for the dough + ½ cup brown sugar for the filling): A little granulated sugar goes into the dough for sweetness, while brown sugar forms the heart of the filling. Brown sugar’s molasses content adds depth and a subtle caramel flavor.
- All-Purpose Flour (3 to 3½ cups): This is the workhorse flour, providing structure without being too heavy. If you want a chewier texture, you can replace half of the all-purpose with bread flour.
- Egg (1 large): An egg contributes to the dough’s rich flavor, tenderness, and structure.
- Salt (1 teaspoon): Often overlooked, salt is essential for balance. It keeps the sweetness in check and enhances the other flavors.
- Cinnamon (1 tablespoon or more, to taste): The star of the show in your filling. Feel free to adjust the amount based on your personal preference, but don’t be shy—the aroma is heavenly!
- Optional Cream Cheese or Vanilla Icing Ingredients: Cream cheese frosting or a simple powdered sugar glaze both taste divine atop warm cinnamon rolls. Plan accordingly if you love an extra-sweet finish.
By assembling these simple ingredients, you’re well on your way to enjoying a batch of irresistible cinnamon rolls, fresh out of the oven, in a fraction of the typical time.
Step-by-Step Instructions to make the One-Hour Cinnamon Rolls
1. Warm the Milk and Butter
- In a microwave-safe bowl or measuring cup, combine 1 cup of milk with 4 tablespoons of butter. Heat in the microwave until the butter is mostly melted and the mixture is around 110°F. If you don’t have a thermometer, aim for a warm (not hot) feel when you touch the mixture with your fingertip.
- This temperature is crucial—too cold, and your yeast may not activate quickly; too hot, and you risk killing the yeast.
2. Form the Dough
- In a large mixing bowl (or the bowl of a stand mixer fitted with a dough hook), combine the warm milk-butter mixture with 2¼ teaspoons of rapid-rise yeast, ¼ cup of granulated sugar, and 1 teaspoon of salt.
- Whisk or stir until everything is well-dissolved.
- Next, add 1 large egg. Give it another quick whisk to incorporate.
- Gradually stir in 3 cups of all-purpose flour, mixing until a soft dough forms. The dough should start to pull away from the sides of the bowl. If it’s too sticky, add an extra tablespoon or two of flour at a time until it’s tacky but manageable.
3. Quick Knead and Rest
- Turn the dough out onto a lightly floured surface. Knead by hand for about 3–5 minutes, or use the dough hook on low speed until the dough is smooth and elastic. You’re looking for a dough that’s still slightly tacky but doesn’t cling to your hands.
- Shape the dough into a ball, place it back in the bowl, and cover with a clean kitchen towel or plastic wrap. Let it rest for 10 minutes. This quick rest helps relax the gluten strands, making the dough easier to roll out and shape.
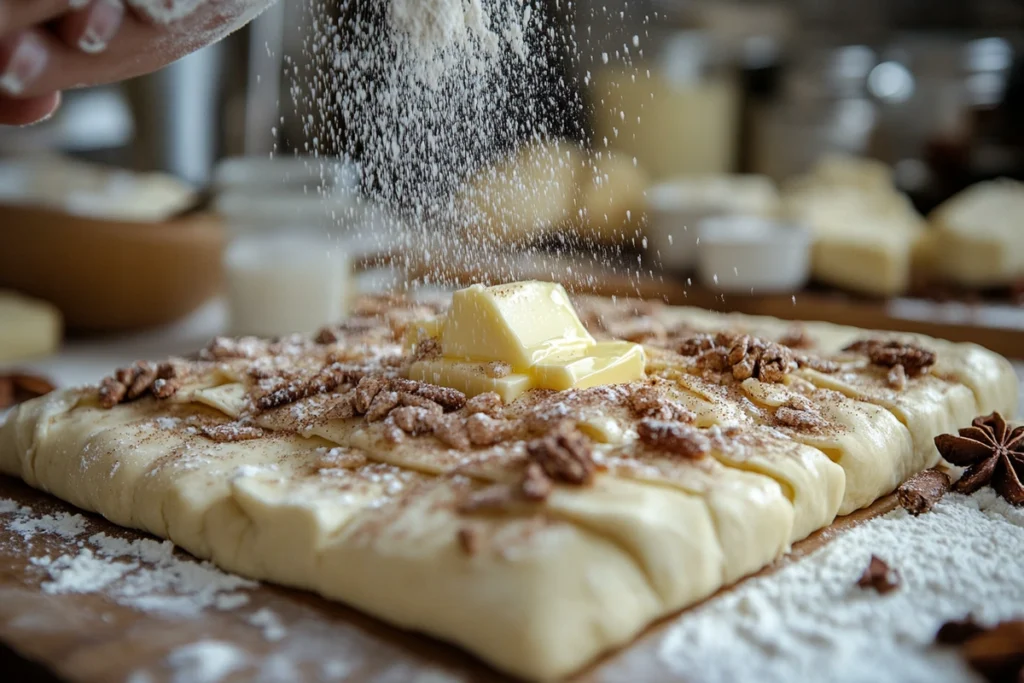
4. Roll and Fill
- After the 10-minute rest, roll the dough into a rectangle, about 12 x 15 inches on a lightly floured surface. The thickness should be fairly even; too thin, and your rolls might tear or lose their shape.
- Spread a thin layer of softened butter (about 2–3 tablespoons) all over the rectangle, leaving a small butter-free border around the edges.
- In a small bowl, combine ½ cup of brown sugar and 1 tablespoon of cinnamon (or more, if you’re a cinnamon enthusiast!). Sprinkle this mixture evenly over the buttered dough, pressing it gently so it adheres well.
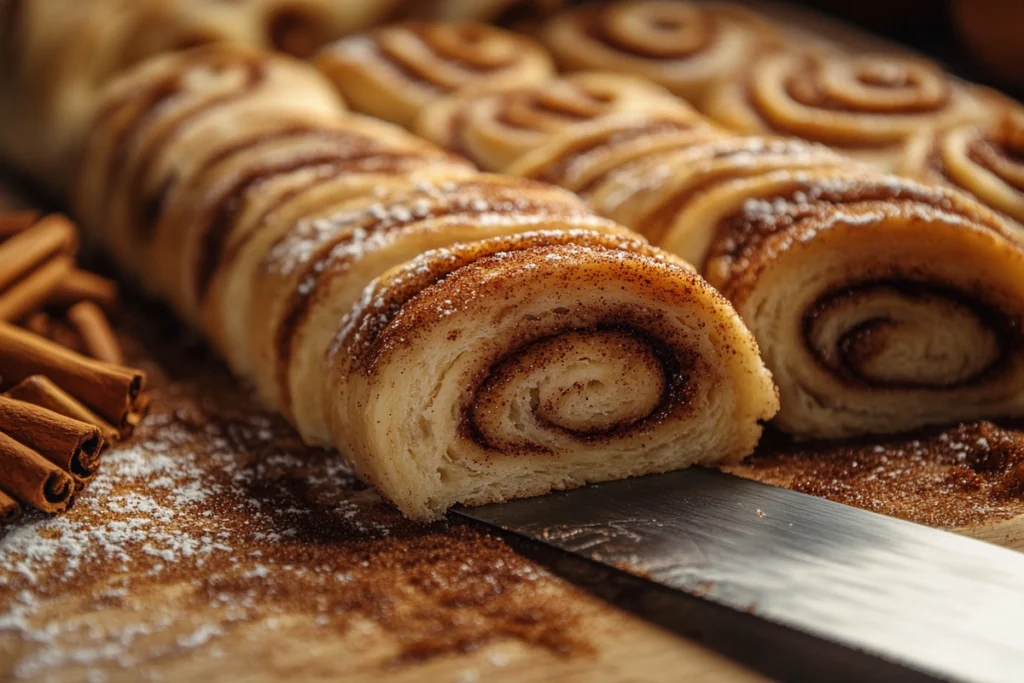
5. Roll Up and Slice
- Starting from the long side of the rectangle, tightly roll the dough into a log. Be sure to roll as evenly as possible; uneven rolling can result in lopsided cinnamon rolls.
- Once you reach the end, pinch the seam closed to help keep the spiral intact.
- Using a sharp knife or unflavored dental floss, slice the log into 12 equal pieces. If you prefer smaller rolls, you could slice it into 14 or 16 portions, but keep in mind that you’ll need an additional or larger baking dish.
6. Final Rise
- Arrange the slices in a greased 9 x 13-inch baking dish, spacing them out slightly to allow room for expansion.
- Cover the dish lightly with plastic wrap or a clean towel and let the rolls rise for 15 minutes. In that short time, they’ll puff up enough to create those soft, pillowy layers you crave.
- Meanwhile, preheat your oven to 350°F.
7. Bake to Perfection
- Once the oven is fully heated, remove the covering from your cinnamon rolls and place them in the oven.
- Bake for 18–20 minutes, or until they’re lightly golden on top. Overbaking can cause dryness, so keep a close eye on them around the 15-minute mark.
8. Frost While Warm
- While the rolls bake, prepare your frosting of choice. A cream cheese frosting made by beating softened cream cheese, softened butter, powdered sugar, and a touch of vanilla extract is a favorite of mine. Alternatively, you can go for a simple vanilla icing, combining powdered sugar, a bit of milk, and vanilla until it forms a pourable glaze.
- Once the rolls are out of the oven, let them sit for a minute or two, then spread or drizzle the frosting over the warm cinnamon rolls. The heat will help the icing melt into every swirl.
Frequently Asked Questions about One-Hour Cinnamon Rolls
Q: Can I make these rolls ahead of time?
A: Absolutely. If you’d like to work ahead, prepare the dough as directed and shape your cinnamon rolls in the evening. Instead of letting them rise on the counter for the final 15 minutes, cover them tightly and place them in the refrigerator overnight. In the morning, allow them to sit at room temperature for about 30 minutes, then bake as usual.
Q: Can I freeze unbaked cinnamon rolls?
A: Yes! After you slice your rolls, arrange them on a parchment-lined baking sheet and freeze until solid. Transfer the frozen rolls to an airtight container or freezer bag. When you’re ready to bake, let them thaw and rise for about an hour at room temperature before popping them into the oven. This method is perfect for meal-prepping or holiday gatherings.
Q: Do I need a stand mixer?
A: A stand mixer definitely makes the process easier, especially if you’re not used to kneading dough. However, it’s entirely possible to make these cinnamon rolls by hand. Just be prepared to knead for about 5 minutes on a lightly floured surface until the dough is smooth.
Q: Is cream cheese frosting necessary?
A: Not at all! If cream cheese isn’t your jam (pun intended!), a simple vanilla glaze is a delightful alternative. You could also experiment with a maple or caramel glaze, or even drizzle them with melted chocolate if you’re feeling extra indulgent.
Q: How do I store leftovers?
A: Store leftover cinnamon rolls in an airtight container at room temperature for up to two days. If you need them to last longer, place them in the refrigerator for up to five days. To enjoy again, warm them in the microwave for about 10–15 seconds, or pop them in a low oven (around 300°F) for a few minutes.
Serving and Storage of One-Hour Cinnamon Rolls
- Serving: Enjoy these cinnamon rolls fresh and warm. If you’re hosting a brunch or holiday breakfast, consider making two batches because they tend to disappear quickly—especially with a crowd!
- Storage: Place any leftover rolls in an airtight container at room temperature. They’ll stay soft and tasty for about two days. If you need longer storage, keep them in the fridge for up to five days. Let them come to room temperature or reheat gently in the microwave or oven before serving.
For an even longer shelf life, consider freezing them. Wrap each roll individually in plastic wrap, then store the wrapped rolls in a freezer-safe container or bag. They’ll keep well for up to two months. To reheat, let them thaw overnight in the refrigerator or briefly on the counter, then warm them in a 300°F oven for about 10–15 minutes.
Conclusion about One-Hour Cinnamon Rolls
Who says homemade cinnamon rolls have to be an all-day affair? With these one-hour cinnamon rolls, you can indulge in the comforting aroma and taste of this classic pastry without devoting your entire morning to the process. Rapid-rise yeast and a quick rest allow the dough to become fluffy and flavorful in a fraction of the usual time. The result is a pan of rolls that are soft, sweet, and marvelously spiced—perfect for lazy weekends, holiday mornings, or whenever the craving strikes.
Don’t be intimidated if you’ve never made yeasted dough before. This recipe keeps the steps straightforward, focusing on achievable techniques that deliver impressive results. From warming the butter and milk to the final drizzle of cream cheese frosting, you’ll find the process enjoyable and fuss-free. And once you taste that first warm, cinnamon-swirled bite, all the effort will feel more than worthwhile.
So fire up your oven, gather your simple ingredients, and prepare to fill your kitchen with the irresistible aroma of fresh cinnamon rolls. Whether you’re catering to a houseful of hungry guests or treating yourself to a sweet breakfast in bed, these one-hour cinnamon rolls are guaranteed to delight.
Give them a try, and don’t be surprised if they become a new tradition in your household—especially once friends and family get a whiff! They’re rich, gooey, and oh-so-comforting, all within a convenient time frame. It’s proof that sometimes you can have the best of both worlds: the homemade charm of from-scratch baking and the modern-day convenience of a quick recipe. Happy baking from all of us here at Goldyrecipe!